By Adam Gray, Performance Analyst
Let’s be frank. You’ve built a PC. It’s got a decent CPU, a respectable GPU, and enough RAM to run a few demanding games. But you’re still staring at frame rate dips, stuttering textures, and the nagging feeling that your hardware isn’t quite living up to its potential. You’ve likely considered an upgrade, but that can be a significant investment. Before you shell out thousands, there’s a powerful, often overlooked tool at your disposal: overclocking.
Overclocking, at its core, is the process of pushing your PC’s components - primarily the CPU and GPU - beyond their factory-specified speeds. It's like giving your hardware a little extra adrenaline. Now, it's not about magically creating more performance; it’s about extracting a bit more out of what you already have. And while it can be a rewarding process, it's crucial to approach it with a methodical mindset. Let’s break down how to do it effectively, safely, and without turning your system into a brick.
Understanding the Basics
Before we dive into the “how,” let’s establish the “why.” Modern CPUs and GPUs are designed with safety margins. Manufacturers intentionally limit their clock speeds to prevent overheating and component damage. Overclocking essentially removes some of that margin, allowing the component to operate at a higher frequency. This translates to increased processing power, resulting in higher frame rates in games and smoother performance in demanding applications.
However, pushing these components harder generates more heat. That’s why cooling is absolutely paramount. Without adequate cooling, you’ll quickly encounter thermal throttling - the CPU or GPU will automatically reduce its clock speed to prevent damage, negating any potential gains from overclocking. Think of it like trying to run a marathon without water; you’ll burn out fast.
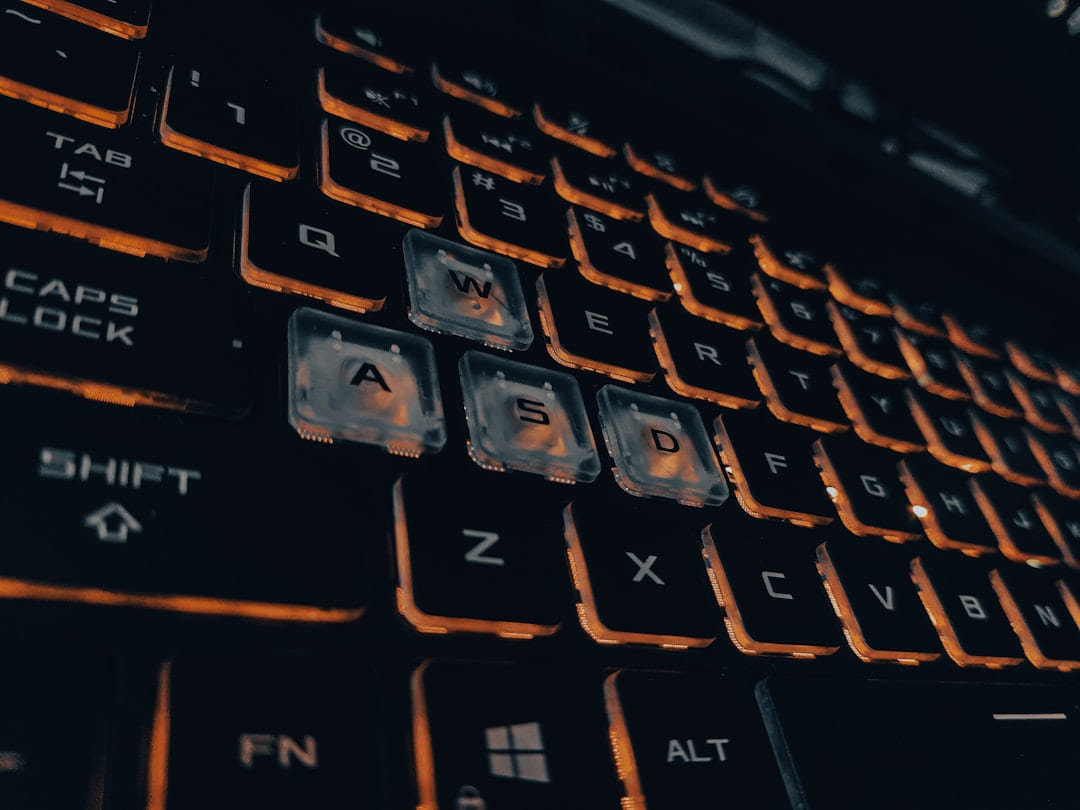
CPU Overclocking: A Step-by-Step Approach
Let’s start with the CPU. Overclocking a CPU isn’t a single, simple tweak. It’s a delicate balancing act involving several settings. Here’s a breakdown:
- BIOS Access: The first step is accessing your motherboard’s BIOS. This is typically done by pressing a key (Del, F2, F12 - check your motherboard manual) during startup.
- Core Ratio & Multiplier: The core ratio determines the CPU’s clock speed. It’s expressed as a multiplier (e.g., 40x). The base clock speed (BCLK) is multiplied by this ratio to determine the CPU’s operating frequency. Increasing the multiplier is the most common way to overclock.
- Voltage Adjustment: Increasing the voltage provides the CPU with more power, allowing it to run at higher frequencies. However, higher voltage also generates more heat. This is where careful monitoring is vital. Start with small voltage increases - 0.01V increments are recommended.
- Load-Testing: After making adjustments, you need to test the stability of your overclock. Tools like Prime95, AIDA64, and Cinebench R23 are excellent for this. These programs push the CPU to its limits, revealing any instability (crashes, freezes, or errors).
- Monitoring: Use monitoring software like HWMonitor or MSI Afterburner to track CPU temperature, clock speed, and voltage. Keep an eye on temperatures - ideally, you want to stay below 85°C under heavy load.
Example: Let’s say you have a CPU with a base clock of 3.6 GHz and a core ratio of 36. Increasing the core ratio to 37 would theoretically boost the clock speed to 37.2 GHz. However, you’ll likely need to increase the voltage slightly to achieve and maintain stability. A conservative starting point would be a 0.01V increase, monitored closely with temperature readings.
GPU Overclocking: A Simpler, Yet Still Critical Process
GPU overclocking is generally a bit more straightforward than CPU overclocking. Most modern GPUs have built-in overclocking utilities within their drivers - MSI Afterburner is the most popular and widely supported. Here’s the general process:
- Install Afterburner: Download and install MSI Afterburner.
- Core Clock & Memory Clock: These are the two primary settings you’ll adjust. The core clock controls the GPU’s processing speed, while the memory clock controls the speed of the GPU’s memory.
- Voltage Adjustment (Optional): Similar to the CPU, increasing the GPU voltage can provide a small performance boost, but it also increases heat. Use with caution.
- Fan Curve Adjustment: Increasing the fan speed alongside your overclock will help dissipate the extra heat.
- Stress Testing: Use benchmarks like 3DMark Time Spy or Unigine Heaven to test the stability of your overclock.
Important Note: GPU overclocking can be more sensitive to driver updates. After a driver update, it’s often necessary to re-evaluate your overclock to ensure stability.
Safety and Best Practices
Overclocking isn’t without risk. Here are some crucial safety guidelines:
- Start Small: Make small, incremental adjustments. Don’t jump to extreme settings immediately.
- Monitor Everything: Continuously monitor CPU and GPU temperatures, clock speeds, and voltages.
- Don’t Overvolt: Avoid excessive voltage increases. It’s better to have a slightly lower clock speed than to risk damaging your components.
- Research Your Hardware: Understand the thermal limits of your CPU and GPU.
- Backup Your Data: While rare, instability during overclocking can lead to data loss. Back up your important files regularly.
Beyond the Basics: Advanced Techniques
Once you’ve mastered the basics, you can explore more advanced overclocking techniques, such as adjusting the LLC (Load-Line Calibration) setting on your motherboard to improve voltage stability under load, or tweaking memory timings (XMP profiles). However, these techniques require a deeper understanding of your hardware and can carry a higher risk of instability. For most users, sticking to the fundamentals will yield significant improvements without venturing into overly complex territory.
Ultimately, overclocking is about finding the sweet spot between performance and stability. It’s a journey of experimentation and refinement. Don’t be afraid to try, but always prioritize safety and careful monitoring. With a systematic approach and a bit of patience, you can unlock the full potential of your PC’s hardware and enjoy a smoother, more responsive gaming experience.
Focus on the part that solves the problem
In a topic like PC hardware and gaming gear, the strongest starting point is usually the one you will notice and use right away. That is often more helpful than adding extra features too early.
Before spending more, it is worth checking the setup, upkeep, and learning curve. Small hassles matter here because they are usually what decide whether something stays useful or gets ignored.
It is easy to underestimate how much clarity comes from removing one unnecessary layer. In practice, trimming one complication often does more for Unlock Your PC’s Speed: Overclocking Tips than adding one more feature, one more product, or one more clever workaround.
Where extra features get in the way
Another easy trap is copying a setup that made sense for someone with a different routine, budget, or tolerance for maintenance. In PC hardware and gaming gear, that mismatch is often what makes a promising idea feel frustrating later.
A lot of options sound great until you picture them in a normal week. If the setup is fussy, the routine is easy to forget, or the maintenance is annoying, the appeal fades quickly.
There is also value in keeping one part of the process deliberately simple. Readers often do better when they identify the one decision that carries the most weight and make that choice carefully before they chase smaller optimizations. That keeps momentum steady and usually prevents the topic from turning into clutter.
Keep This Practical
A better setup usually comes from one smart hardware decision at a time. Match the upgrade to your games, monitor, and budget instead of chasing every enthusiast talking point.