
Planning & Parts Acquisition (The Foundation) (Building Your PC: A)
Building Your PC: A can be easier to approach when you start with a few practical basics. Before you even think about touching a screwdriver, solid planning is crucial. This phase is arguably the most important, as mistakes here can be costly and time-consuming. Let's break it down:
1. Define Your Budget & Goals
This is the absolute starting point. How much are you realistically willing to spend? Be honest with yourself. A $800 build will look drastically different from a $2500 behemoth. More importantly, what do you want to do with this PC? Are you primarily gaming at 1080p, 1440p, or 4K? Do you need a powerhouse for video editing, streaming, or 3D rendering? Knowing your goals will dictate the components you prioritize. For example, a gamer focused on high refresh rates will need a powerful graphics card and a fast processor, while a content creator will need ample RAM and storage.
2. Component Selection - The Core Components
Here’s where the research begins. Let's look at the key components:
- CPU (Central Processing Unit): Intel and AMD are the dominant players. Research benchmarks to find the best CPU for your budget and intended use.
- Motherboard: Choose a motherboard compatible with your CPU and RAM. Consider features like PCIe slots, USB ports, and connectivity.
- RAM (Random Access Memory): 16GB is generally considered the minimum for modern gaming, but 32GB is becoming increasingly common, especially for demanding titles and multitasking.
- GPU (Graphics Processing Unit): The heart of your gaming experience. NVIDIA and AMD offer a range of cards, each with varying performance levels.
- Storage (SSD & HDD): An SSD (Solid State Drive) is essential for fast boot times and application loading. Consider a smaller SSD for your operating system and frequently used games, and a larger HDD for mass storage.
- Power Supply (PSU): Don’t skimp on the PSU! It’s the lifeblood of your system. Calculate your wattage needs and choose a PSU with headroom for future upgrades. Look for 80+ Bronze or Gold certification for efficiency.
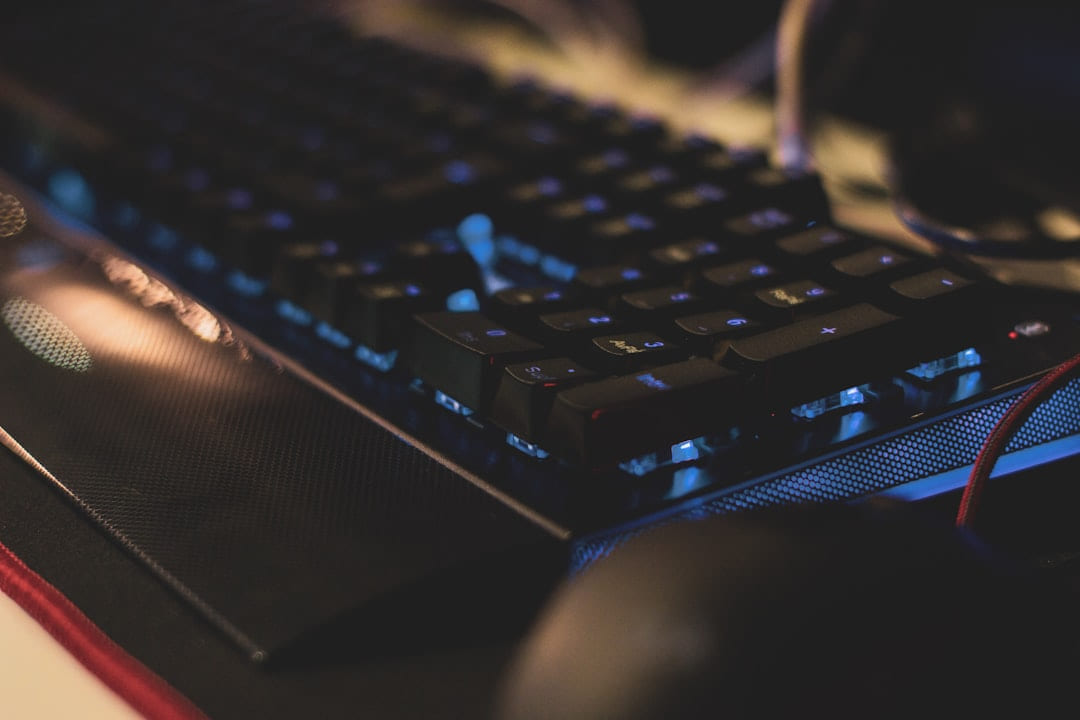
- Case: Choose a case that fits your components and aesthetic preferences. Consider airflow and cable management.
- CPU Cooler: Stock coolers are often sufficient for lower-end CPUs, but an aftermarket cooler will provide better cooling and quieter operation, especially for overclocking.
3. Research & Compatibility
This is critical. Use websites like PCPartPicker () to ensure all your components are compatible. PCPartPicker will also show you potential wattage issues and suggest alternative parts. Don't just blindly trust the website; double-check the manufacturer’s specifications.
The Build - Bringing It All Together
Now for the fun part! Here’s a step-by-step guide to the actual build:
4. Preparation is Key
5. Install CPU on Motherboard
Carefully align the CPU with the socket on the motherboard and gently lower it into place. Secure it with the lever. Don’t force it!
6. Install RAM
Locate the RAM slots on the motherboard. Align the notch on the RAM stick with the notch in the slot and press firmly until it clicks into place. Consult your motherboard manual for the correct slot configuration for dual-channel or quad-channel memory.
7. Mount CPU Cooler
Apply thermal paste to the CPU (if not pre-applied to the cooler). Secure the cooler to the motherboard according to the manufacturer’s instructions.
8. Install Motherboard in Case
Install standoffs in the case. Carefully lower the motherboard onto the standoffs and secure it with screws.
9. Install GPU
Locate the PCIe x16 slot and firmly press the GPU into place until it clicks. Secure it with screws.
10. Install Storage Devices
Connect the SSD and HDD to the appropriate SATA ports on the motherboard and connect them to the PSU with SATA cables.
11. Connect Power Supply
Place the PSU in its designated bay and connect the necessary cables to the motherboard, GPU, and storage devices.
12. Cable Management
This is where things get tidy! Route cables neatly behind the motherboard tray and use zip ties or Velcro straps to secure them. Good cable management improves airflow and makes future upgrades easier.
Post-Build & Testing
Congratulations, you’ve built your PC! But the work isn't quite finished.
13. Initial Boot-Up
Connect a monitor, keyboard, and mouse. Turn on the PC and enter the BIOS/UEFI settings. Verify that all components are recognized.
14. Operating System Installation
Install your operating system (Windows, Linux, etc.) from a USB drive.
15. Driver Installation
Install the latest drivers for your motherboard, GPU, and other peripherals. review these from the manufacturer’s websites.
16. Stress Testing
Run stress tests (e.g., Prime95, FurMark) to ensure your CPU and GPU are stable under load. Monitor temperatures to ensure they are within acceptable limits. This is a crucial step to identify any potential overheating issues early on.
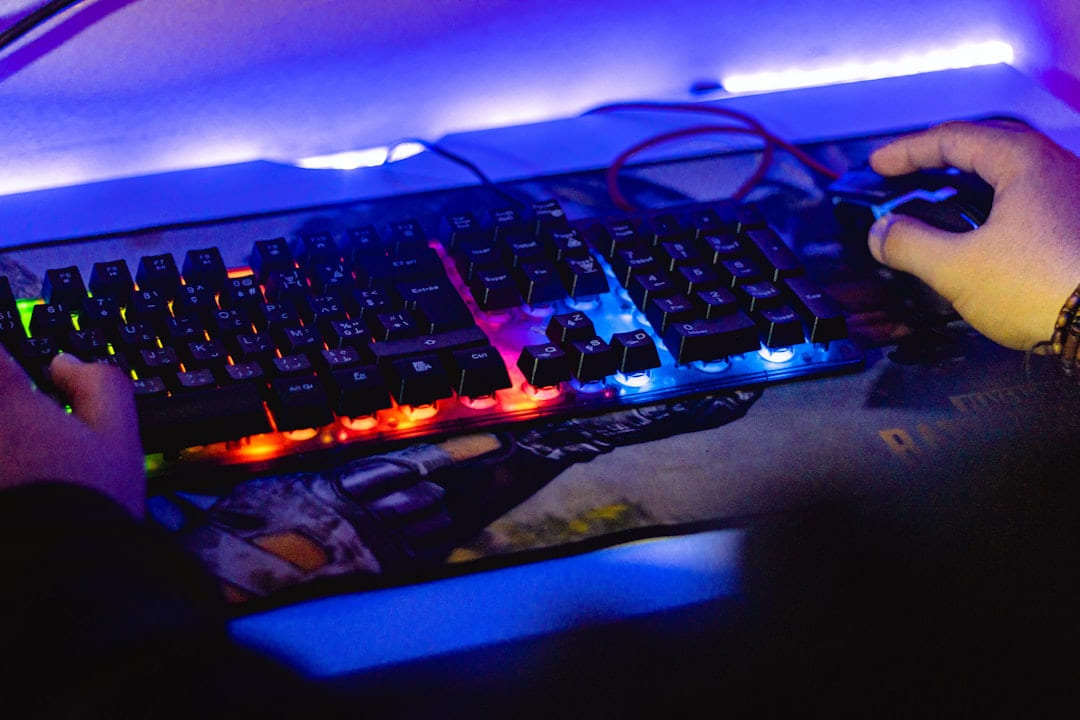
17. Game Testing
Finally, test your PC with your favorite games to ensure everything is running smoothly. Monitor frame rates and temperatures while gaming.
Building a PC is a fantastic achievement. By following this checklist, you’ll be well on your way to creating a powerful and personalized gaming machine. Don’t be afraid to ask for help - the PC building community is incredibly supportive. And remember, patience and attention to detail are key! Happy building!
Pick the easiest win first
Most people get better results with Building Your PC: A Checklist when they narrow the decision to one real problem. That could be saving time, trimming cost, reducing friction, or making the routine easier to keep up.
This usually gets easier once you make a short list of priorities. A tighter list tends to produce better decisions than trying to solve every possible problem at once.
Another useful filter is asking what you would still recommend if the budget got tighter, the schedule got busier, or the setup had to be easier for someone else to manage. The answers to that question usually reveal which advice is durable and which advice only works under ideal conditions.
The tradeoff most people notice late
One common mistake with Building Your PC: A Checklist is expecting every option to solve the whole problem. In reality, some choices are better for convenience, some for reliability, and some simply for keeping the budget under control.
Before spending more, it is worth checking the setup, upkeep, and learning curve. Small hassles matter here because they are usually what decide whether something stays useful or gets ignored.
It is easy to underestimate how much clarity comes from removing one unnecessary layer. In practice, trimming one complication often does more for Building Your PC: A Checklist than adding one more feature, one more product, or one more clever workaround.
Keep This Practical
A better setup usually comes from one smart hardware decision at a time. Match the upgrade to your games, monitor, and budget instead of chasing every enthusiast talking point.
Tools Worth A Look
The products here work best for readers who want performance, comfort, or setup improvements with a clear gaming payoff.
- Camoo USB American Truck Simulator Shifter Shift Knob for ATS and ETS2GravaStar Mercury K1 75% Wireless Mechanical Keyboard, Aluminum Alloy Gaming Keyboard with Knob, Hot Swappable, Linear SwitchesLogitech G305 Lightspeed Wireless Gaming Mouse, Hero Sensor, 12,000 DPI, Lightweight, 6 Programmable Buttons, 250h Battery, On-Board Memory, Compatible with PCManbaOne Interactive Screen Wireless Gaming Controller for PC/Switch/Switch 2/iOS/Android,Hall Effect Stick & Trigger,RGB Lighting,Remappable Buttons,1800mAGMKtec Mini PC with Intel Core i7-1185G7 Processor (Up to 4.8 GHz) 16GB DDR4 1TB SSD NIC i226V RJ45 2.5G Iris Xe Graphics USB4.0 Desktop Mini Computer
Some of the links on this page are Amazon affiliate links, which means I may earn a small commission if you make a purchase through them. As an Amazon Associate, I earn from qualifying purchases.
Related ReadingMore from Frame Rate Vault
Budget PC Builds: Getting Started
Budget PC Builds can be easier to approach when you start with a few practical basics. GPU: 30-35% - The graphics powerhouse. Motherboard: 10-15% - Connects.

Budget PC Build Checklist: Your Starting Point
is easier to make sense of when you break it down into the part that matters most first. Instead of chasing every option at once, it usually helps to focus on what.
Budget PC Builds: Smart Savings for Gamers
(Budget) - Level Up Your Game Without Breaking the Bank Custom PC Builds (Budget) - Level Up Your Game Without Breaking the Bank 2. Motherboa...